公開日:2020/02/25更新日:2020/08/03
【Kotlin基礎】ProgressBarで進捗状況を表示する方法を解説

- Kotlinで進捗状況を表示する方法が知りたい。
- ProgressBarをコードで動的に実装したい。
データをダウンロードする時などは、ダウンロードが無事行われているかがわかるように、進捗状況を表示したいですよね。Kotlinでは、ProgressBarというViewを使用することで、進捗状況を表示することができます。
本記事では、Kotlinで進捗状況を示す水平バーを表示する方法を、サンプルコードを交え、わかりやすく解説しております。
目次
ProgressBarで進捗状況を表示する方法

xmlでProgressBarを実装する
Kotlinで進捗状況を表示するには、ProgressBarというViewを使用します。
【公式ドキュメント】 : ProgressBar | Android Developers
ProgressBarは、以下のように実装します。
- MainActivity.kt
- activity_main.xml
override fun onCreate(savedInstanceState: Bundle?) {
   super.onCreate(savedInstanceState)
   setContentView(R.layout.activity_main)
}
<?xml version="1.0" encoding="utf-8"?>
<LinearLayout
   xmlns:android="http://schemas.android.com/apk/res/android"
   android:id="@+id/container"
   android:layout_width="match_parent"
   android:layout_height="match_parent"
   android:orientation="vertical">

   <ProgressBar
       android:id="@+id/progress_bar"
       style="?android:attr/progressBarStyleHorizontal"
       android:layout_width="match_parent"
       android:layout_height="wrap_content"
       android:layout_margin="16dp" />

</LinearLayout>
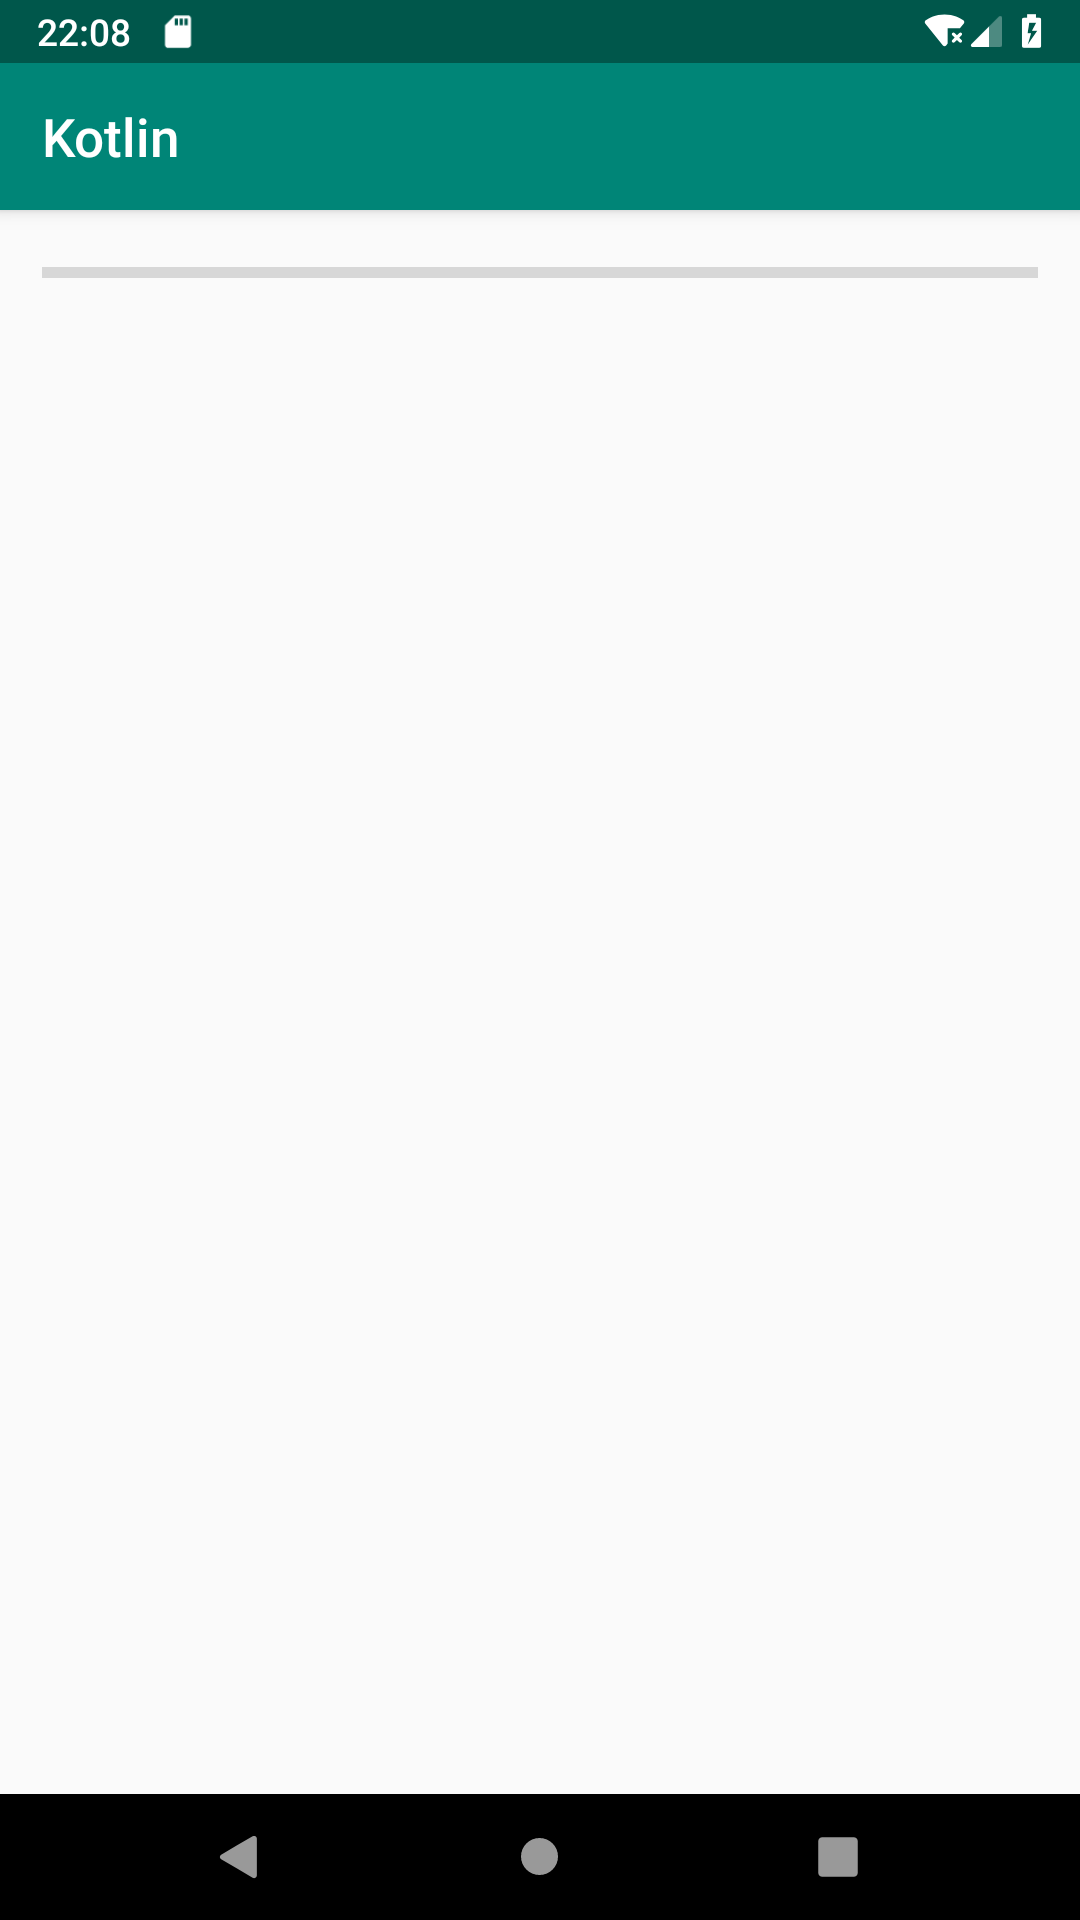
ProgressBarを実装するには、<ProgressBar/>タグを使用します。
そして、style属性に、progressBarStyleHorizontalを指定します。この指定がないと、水平ではなく、ローディングのプログレスバーが表示されてしまいます。
- 水平のプログレスバーを実装するには、<ProgressBar/>タグを使用し、style属性にprogressBarStyleHorizontalを指定する
なお、progressBarStyleHorizontal以外のスタイルを指定した場合の実装に関しましては、以下の記事でまとめておりますので、そちらをご覧いただけると幸いです。

ProgressBarの基本的な使い方

ProgressBarの値を変更する
続いて、ProgressBarの値を変更する方法を紹介致します。ProgressBarの値は、progressで指定することができます。
【xmlで指定する場合】
- MainActivity.kt
- activity_main.xml
override fun onCreate(savedInstanceState: Bundle?) {
   super.onCreate(savedInstanceState)
   setContentView(R.layout.activity_main)
}
<?xml version="1.0" encoding="utf-8"?>
<LinearLayout
   xmlns:android="http://schemas.android.com/apk/res/android"
   android:id="@+id/container"
   android:layout_width="match_parent"
   android:layout_height="match_parent"
   android:orientation="vertical">

   <ProgressBar
       android:id="@+id/progress_bar"
       style="?android:attr/progressBarStyleHorizontal"
       android:layout_width="match_parent"
       android:layout_height="wrap_content"
       android:layout_margin="16dp"
       android:progress="30" />

</LinearLayout>
【コードで指定する場合】
- MainActivity.kt
- activity_main.xml
override fun onCreate(savedInstanceState: Bundle?) {
   super.onCreate(savedInstanceState)
   setContentView(R.layout.activity_main)

   val progressBar = findViewById<ProgressBar>(R.id.progress_bar)
   progressBar.progress = 30
}
<?xml version="1.0" encoding="utf-8"?>
<LinearLayout
   xmlns:android="http://schemas.android.com/apk/res/android"
   android:id="@+id/container"
   android:layout_width="match_parent"
   android:layout_height="match_parent"
   android:orientation="vertical">

   <ProgressBar
       android:id="@+id/progress_bar"
       style="?android:attr/progressBarStyleHorizontal"
       android:layout_width="match_parent"
       android:layout_height="wrap_content"
       android:layout_margin="16dp" />

</LinearLayout>

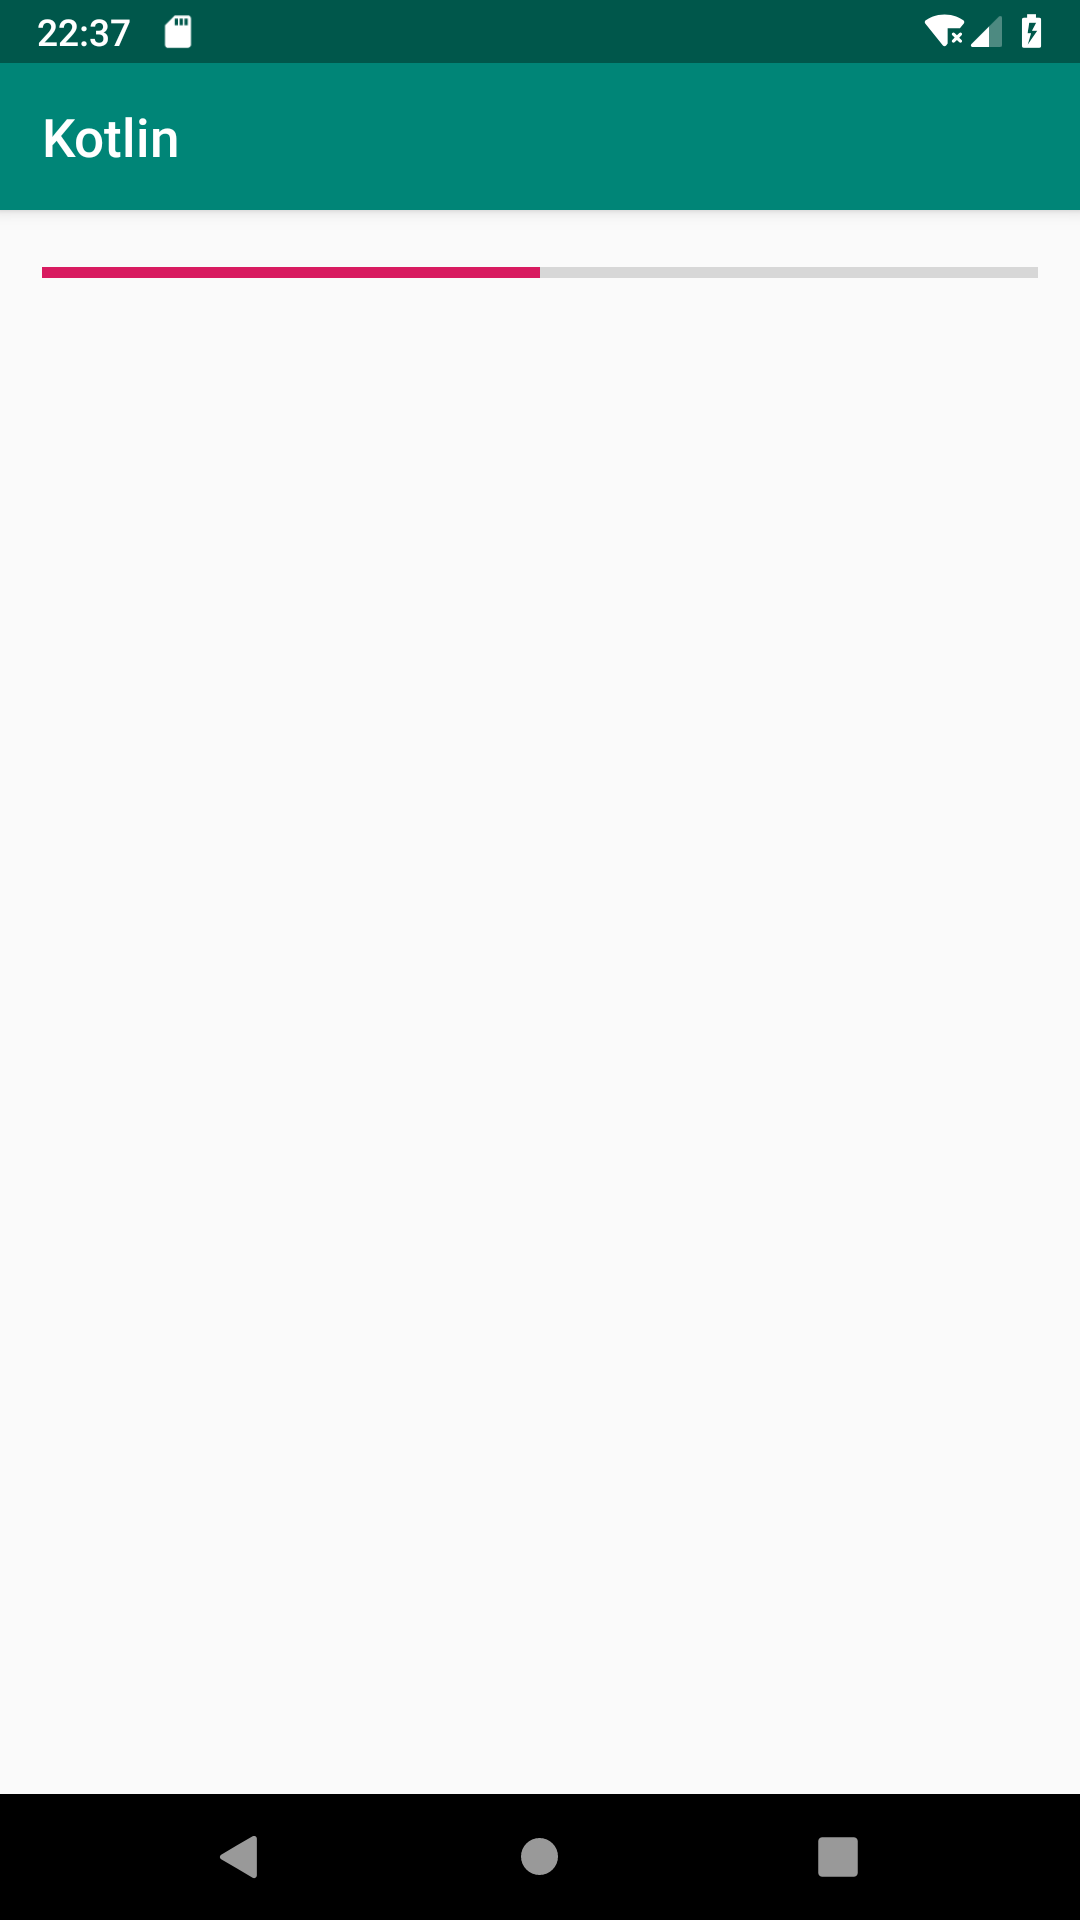
サンプルコードでは、progressに30を指定しております。
ProgressBarの最大値の初期値は100なので、100分の30あたりまでピンクの進捗が進んでいるのがわかります。
- ProgressBarの値は、progressで指定する
ProgressBarの最大値、最小値を変更する
続いて、ProgressBarの最大値、最小値を変更する方法を紹介致します。ProgressBarの最大値はmax、最小値はminで指定することができます。
【xmlで指定する場合】
- MainActivity.kt
- activity_main.xml
override fun onCreate(savedInstanceState: Bundle?) {
   super.onCreate(savedInstanceState)
   setContentView(R.layout.activity_main)
}
<?xml version="1.0" encoding="utf-8"?>
<LinearLayout
   xmlns:android="http://schemas.android.com/apk/res/android"
   android:id="@+id/container"
   android:layout_width="match_parent"
   android:layout_height="match_parent"
   android:orientation="vertical">

   <ProgressBar
       android:id="@+id/progress_bar"
       style="?android:attr/progressBarStyleHorizontal"
       android:layout_width="match_parent"
       android:layout_height="wrap_content"
       android:layout_margin="16dp"
       android:max="50"
       android:min="-50" />

</LinearLayout>
【コードで指定する場合】
- MainActivity.kt
- activity_main.xml
override fun onCreate(savedInstanceState: Bundle?) {
   super.onCreate(savedInstanceState)
   setContentView(R.layout.activity_main)

   val progressBar = findViewById<ProgressBar>(R.id.progress_bar)
   progressBar.max = 50
   progressBar.min = -50
}
<?xml version="1.0" encoding="utf-8"?>
<LinearLayout
   xmlns:android="http://schemas.android.com/apk/res/android"
   android:id="@+id/container"
   android:layout_width="match_parent"
   android:layout_height="match_parent"
   android:orientation="vertical">

   <ProgressBar
       android:id="@+id/progress_bar"
       style="?android:attr/progressBarStyleHorizontal"
       android:layout_width="match_parent"
       android:layout_height="wrap_content"
       android:layout_margin="16dp" />

</LinearLayout>
サンプルコードでは、maxに50、minに-50を指定しております。
ProgressBarの値の初期値は0なので、真ん中まで進捗が進んでいるのがわかります。
- ProgressBarの最大値は、maxで指定する
- ProgressBarの最小値は、minで指定する
ProgressBarのセカンダリ値を変更する
ProgressBarでは、これまで紹介してきた進捗状況の値とは別に、もう1つ進捗状況の値を表示することができます。
2つ目の値は、secondaryProgressで指定することができます。
【xmlで指定する場合】
- MainActivity.kt
- activity_main.xml
override fun onCreate(savedInstanceState: Bundle?) {
   super.onCreate(savedInstanceState)
   setContentView(R.layout.activity_main)
}
<?xml version="1.0" encoding="utf-8"?>
<LinearLayout
   xmlns:android="http://schemas.android.com/apk/res/android"
   android:id="@+id/container"
   android:layout_width="match_parent"
   android:layout_height="match_parent"
   android:orientation="vertical">

   <ProgressBar
       android:id="@+id/progress_bar"
       style="?android:attr/progressBarStyleHorizontal"
       android:layout_width="match_parent"
       android:layout_height="wrap_content"
       android:layout_margin="16dp"
       android:progress="40"
       android:secondaryProgress="70" />

</LinearLayout>
【コードで指定する場合】
- MainActivity.kt
- activity_main.xml
override fun onCreate(savedInstanceState: Bundle?) {
   super.onCreate(savedInstanceState)
   setContentView(R.layout.activity_main)

   val progressBar = findViewById<ProgressBar>(R.id.progress_bar)
   progressBar.progress = 40
   progressBar.min = 70
}
<?xml version="1.0" encoding="utf-8"?>
<LinearLayout
   xmlns:android="http://schemas.android.com/apk/res/android"
   android:id="@+id/container"
   android:layout_width="match_parent"
   android:layout_height="match_parent"
   android:orientation="vertical">

   <ProgressBar
       android:id="@+id/progress_bar"
       style="?android:attr/progressBarStyleHorizontal"
       android:layout_width="match_parent"
       android:layout_height="wrap_content"
       android:layout_margin="16dp" />

</LinearLayout>
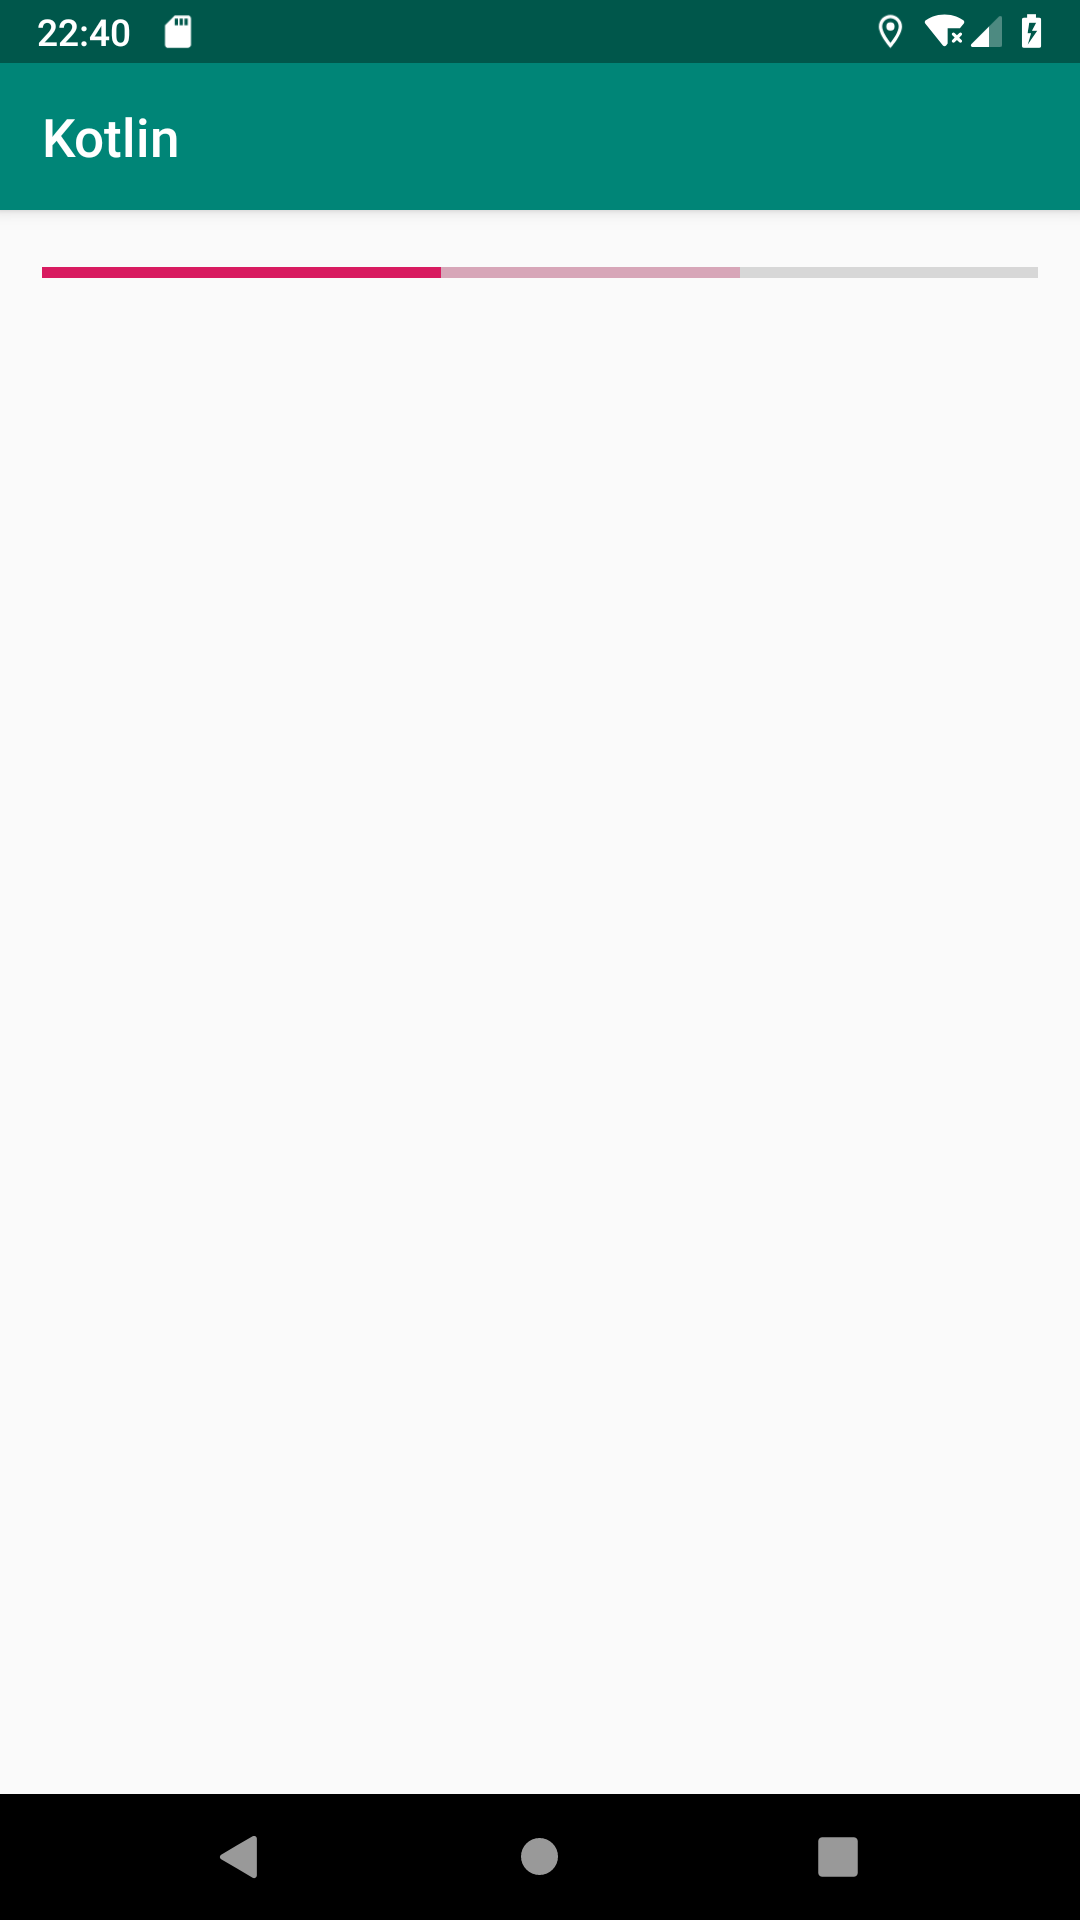
70の部分まで、薄いピンクで進捗が表示されております。これがsocondaryProgressで指定した部分です。濃いピンクがprogressで指定した部分です。
socondaryProgressを実装する際に注意しなければならないのは、secondaryProgressには、progressよりも大きい値を指定しなければならないということです。仮に、secondaryProgressにprogressよりも小さい値を指定した場合は、progressしか表示されません。
- ProgressBarのセカンダリ値は、secondaryProgressで指定する
まとめ

- 水平のプログレスバーを実装するには、<ProgressBar/>タグを使用し、style属性にprogressBarStyleHorizontalを指定する
- ProgressBarの値は、progressで指定する
- ProgressBarの最大値は、maxで指定する
- ProgressBarの最小値は、minで指定する
- ProgressBarのセカンダリ値は、secondaryProgressで指定する
関連記事